Documentation
GitHub Enterprise Cloud Connector
For a general introduction to our GitHub Enterprise Connector, please refer to RheinInsights GitHub Enterprise Cloud Connector.
Hard Disk Requirements
Please note that due to the nature of git and GitHub, the connector needs to clone repositories. The cloned repositories will be stored in the connector’s tmp folder and stay there for the crawl duration. At the end of each crawl, the connector will remove these folders.
From a storage perspective this means that the connector needs to have sufficient disk space in its working folder to store the respectively cloned repositories. The storage amount is the same as when you execute a git clone commands for all repositories in scope.
GitHub Enterprise Cloud Configuration
In order to allow the connector to crawl your GitHub instance, please configure a GitHub app as follows. In order to do so, you need to have sufficient administrative privileges for your organization.
Your GitHub Organization’s Name
First, take a note of your organization name, as part of the Url https://github.com/organizations/<OrgName>/settings
Create a New GitHub App
Navigate to your apps, i.e., https://github.com/settings/apps
Click on “New GitHub App”
Configure the App Fundamentals
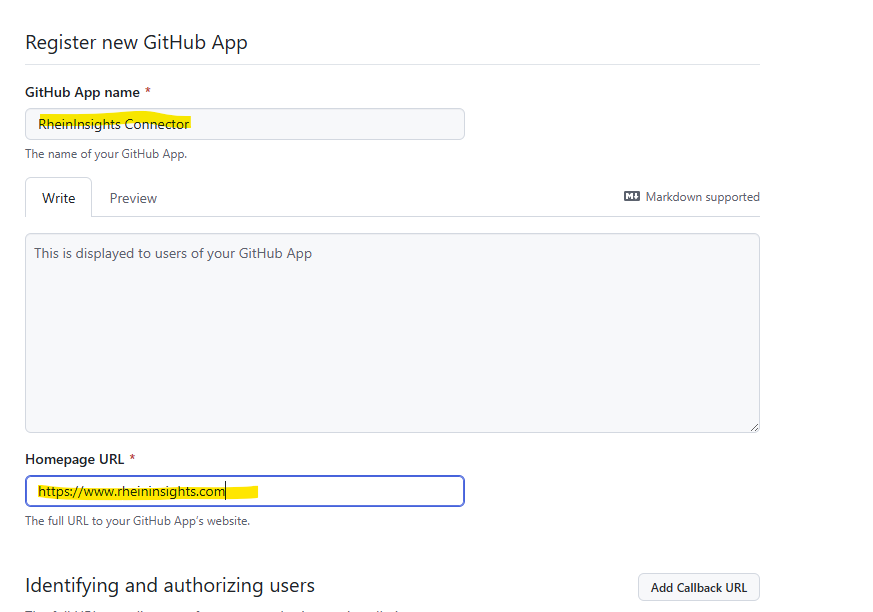
On the next page, do the following:
Give it a name, e.g. RheinInsights GitHub Connector
Set a homepage URL, for instance https://www.rheininsights.com
Disable “expire user authorization tokens”

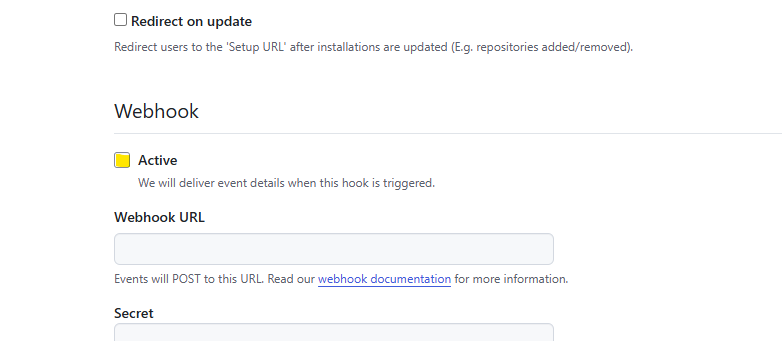
Disable webhooks
Then add the following repository permissions:
Knowledge bases: read-only
Content: read_only
Discussions: read_only
Issues: read_only
Metadata: read_only
Organization Permissions
Knowledge bases: read-only
Members: read-only
Organization codespaces: read-only
Projects: read-only
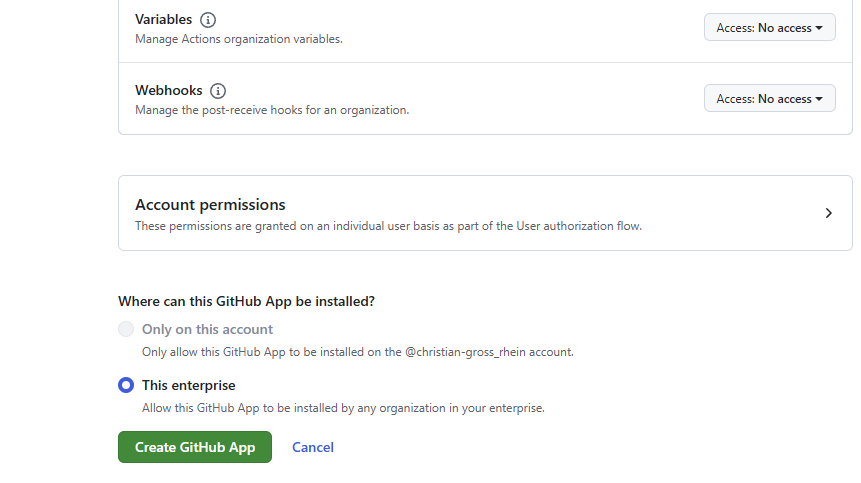
Click on “Create GitHub App” for this enterprise
Install the App and Generate a Private Key
On the next page, or https://github.com/settings/apps/<your app name>
Navigate to the bottom of the page by clicking at generate a private key

Generate the key
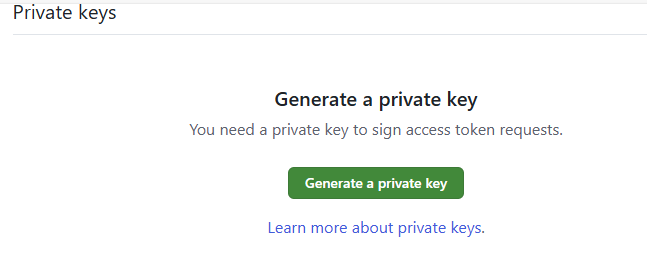
Store the key securely until you need it for the connector configuration.
On the right hand side click on “install app”
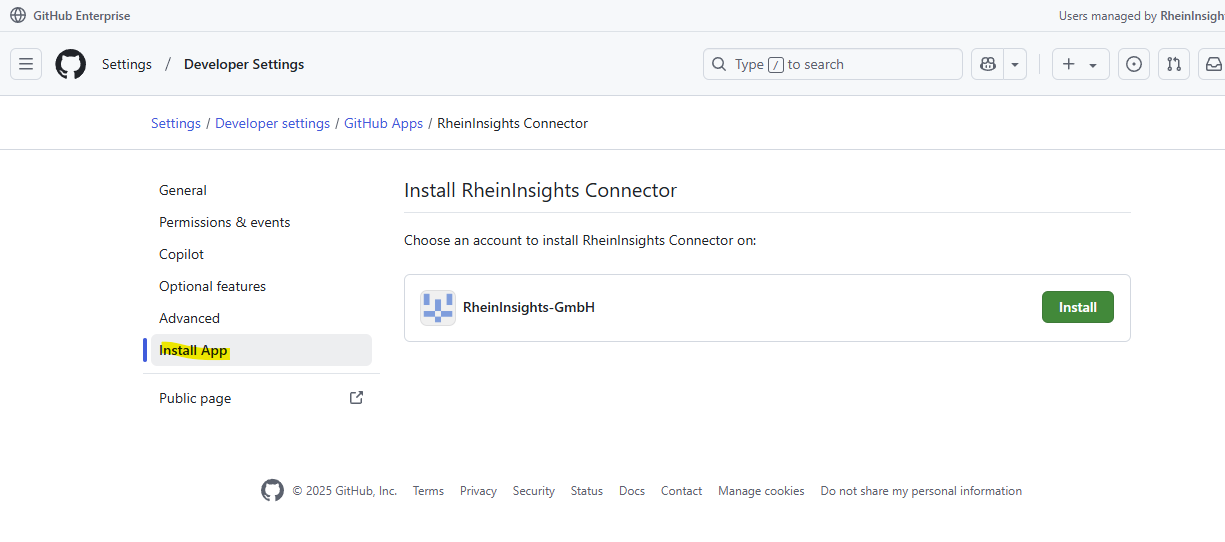
Click on “Install”
Choose all or just the repositories, you want to crawl into your search / RAG:
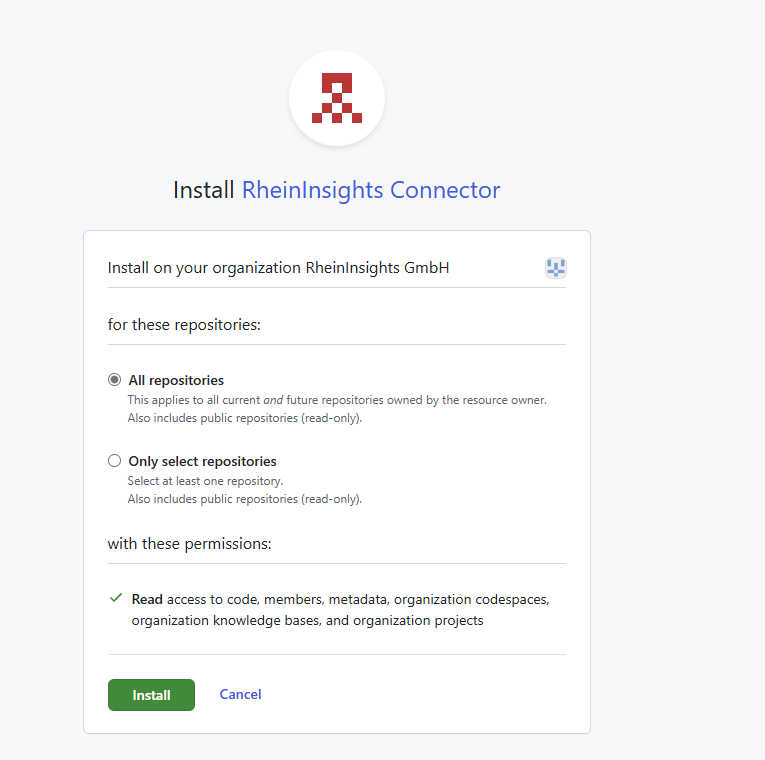
Click on Install
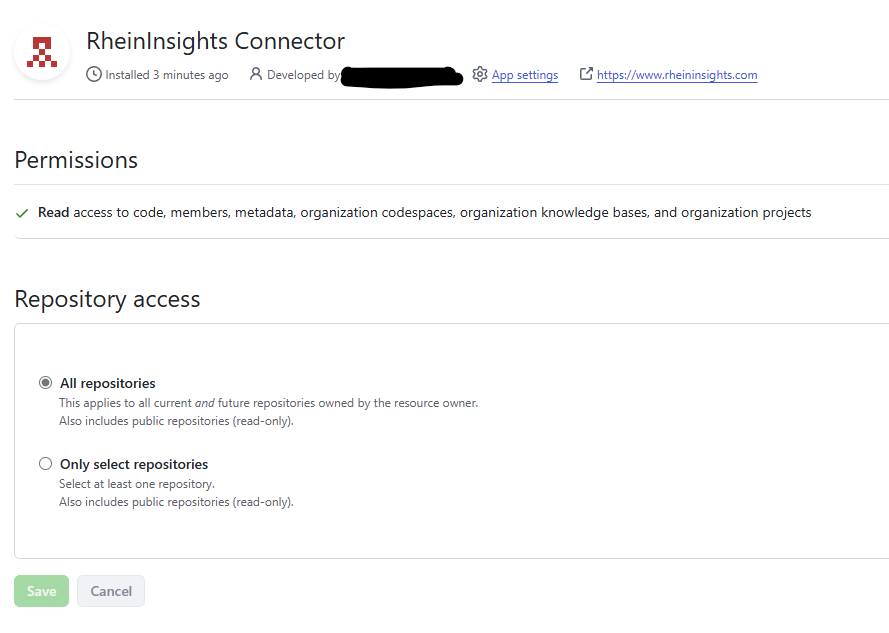
Afterwards,
On the next page, take a note of the installation Id as part of the URL:
https://github.com/organizations/<OrgName>/settings/installations/<InstallationIId>please collect the following information by clicking on “App settings”
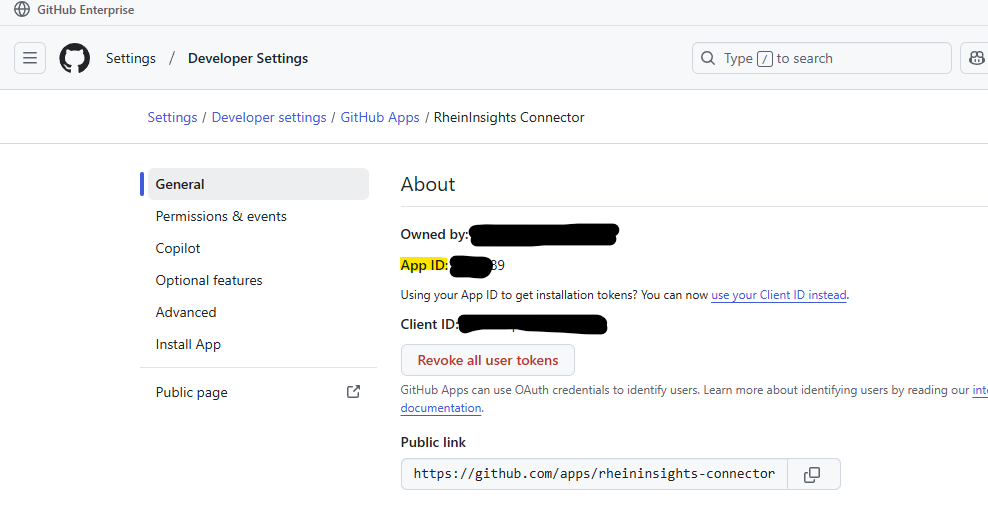
Take a note of the app id
Content Source Configuration
The content source configuration of the connector comprises the following mandatory configuration fields.
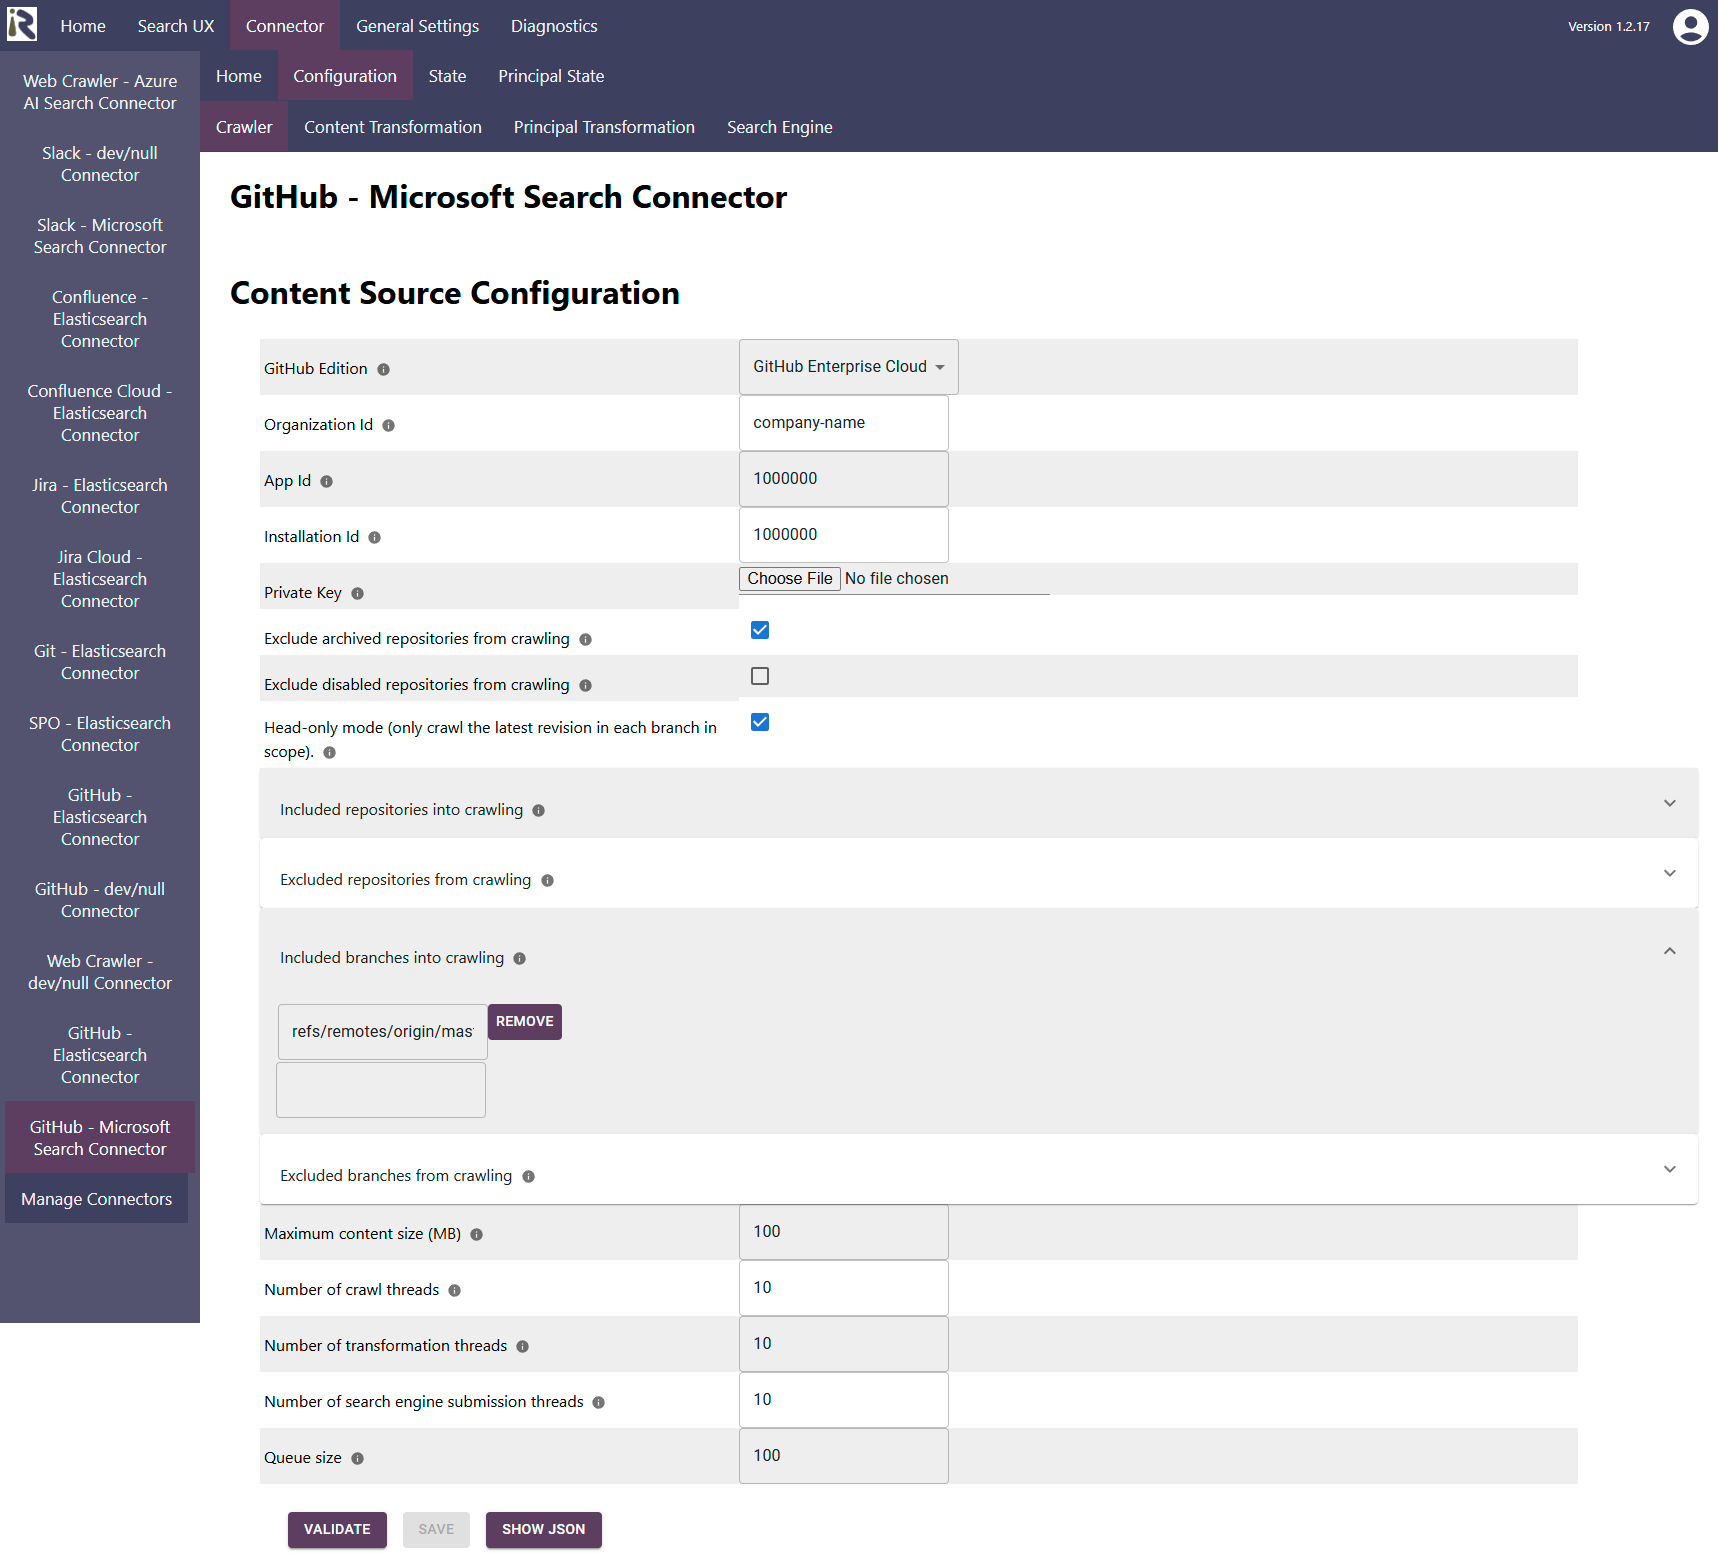
GitHub Edition: Please set this to GitHub Enterprise Cloud.
Organization Id. Here please add Your GitHub Organization’s Name
Add the app id from Step “Install the App and Generate a Private Key”.
Installation Id. Please add the installation id, as being noted in Step “Install the App and Generate a Private Key”.
Private key. Please upload the private key, which you downloaded in Step “Install the App and Generate a Private Key” above
Exclude archived repositories from crawling. Enable this option in order to not crawl all archived repos. Repositories which become archived between crawls, will be removed from the search index.
Exclude disabled repositories from crawling. Enable this option in order to not crawl all disabled repos. Repositories which become disabled between crawls, will be removed from the search index.
Head-only mode. This will only crawl the most recent version of a branch in each repository.
By default, the connector will crawl only the latest revision. If you like to crawl all changed files in all commits, then you need to disable this option.Included repositories into crawling. Here add regular expression (in Java format) which match the names of the repositories, which you only want to crawl.
Excluded repositories from crawling. Here add regular expression (in Java format) which match the names of the repositories, which you do not want to crawl.
Included branches into crawling. Here add regular expression (in Java format) which match the names of the branches, which you only want to crawl. These apply to all repositories.
By default, the connector will crawl refs/remotes/origin/master. If you like to crawl more or all branches, then remove this option or leave it empty.Excluded branches from crawling. Here add regular expression (in Java format) which match the names of the repositories, which you do not want to crawl. Also here, this setting applies to all repositories.
Maximum content size (MB): This is file size limitation. If files exceed this size, they won’t be crawled.
The general settings are described at General Crawl Settings and you can leave these with its default values.
Please note that due to the nature of the GitHub APIs, the connector clones repositories during crawling and stores the contents in a tmp directory on the crawl-server. After crawling a repository, this tmp-folder becomes deleted. |
|---|
After entering the configuration parameters, click on validate. This validates the content crawl configuration directly against the content source. If there are issues when connecting, the validator will indicate these on the page. Otherwise, you can save the configuration and continue with Content Transformation configuration.
Recommended Crawl Schedules
Incremental Crawls
Even though Git comes with a native change log, the connector will always crawl an entire revision. It adds the files, which have changed during a commit. It skips revisions during incremental crawling, it already has seen. Incremental crawls will not delete skipped files, also not in “head-only” mode.
Depending on the size of your GitHub instance, we recommend to configure incremental crawls to run every 12 or 24 hours.
Principal Crawls
Principal scans should run twice per day. These scans index the user group relationships, which are important for private repositories.
Full Content Scans
Furthermore, full content scans are normally only needed, if you run “head-only” mode. change content processing and need to reindex everything. For more information see Crawl Scheduling .